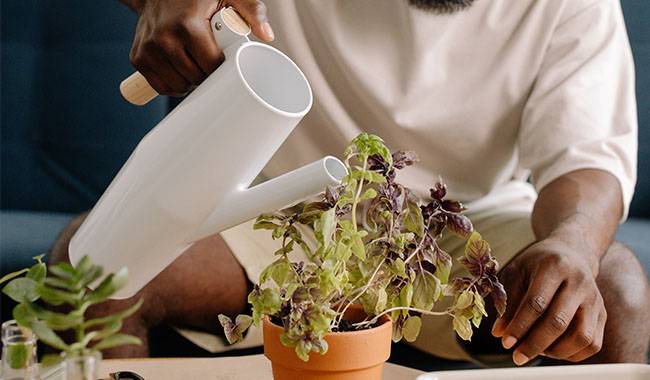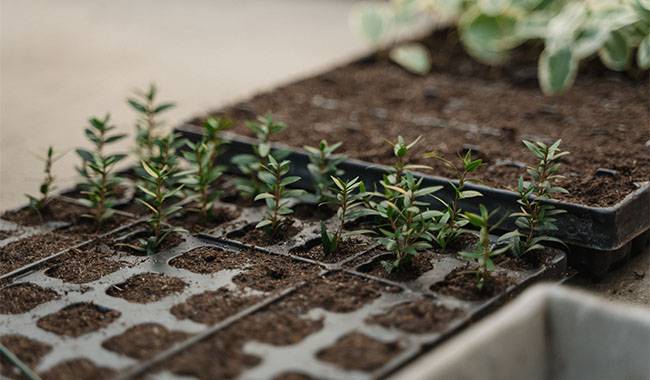
Soon, the long-awaited spring will arrive, the snow will melt and fresh, renewed earth will emerge. This means the gardening season is about to begin. But before you “move” any seedlings or seeds onto your plot and put them to work on your summer chores, you need to prepare your beds so they can provide you with the richest, most nutritious and delicious harvest possible. You will learn How to Prepare Seedbeds for Spring Sowing in the ThumbGarden article.
Preparing the Right Program
Of course, the list of tasks for preparing your beds for the season may vary. Much will depend on the specifics of your plot, its location, the specific soil, and what kind of crops you plan to grow. However, there are a few “must-haves” – things you can’t afford to be without when preparing your seedbeds. There are a few things you need to do first.
Assess the Situation
Before you start your spring work, you need to make sure the soil is ready. The easiest and most proven way to do this is to take a small piece of soil in the palm of your hand and try to crumble it. If, despite your efforts, the lump still sticks to your hand, then now is not the time to work. If the lump of soil immediately crumbles into dust – alas, you are too late, the soil has dried out too much and you will have to water before preparing the bed. However, if the soil has disintegrated into small fragments, it’s time for spring tillage.
Digging out the Soil
Of course, it is best to dig out the plots in the fall after the harvest. However, if for some reason this is not possible, you should start digging in the spring. In the spring, the soil should be tilled to a depth of 6 inches (15 cm), always turning the soil layer sufficiently so that the lower part of the soil rises to the top.
Application of Fertilizers and Soil Conditioners
Apply fertilizers and soil amendments at the same time as digging (or raking if you are not digging in the spring). Their composition depends on the soil conditions of the plot and the crops that will be grown in your beds.
For example, garlic likes compost and fertilizers such as calcium superphosphate. Potatoes will grow well in soil that has been dug twice, in the fall and spring, and can also be fertilized with nitrogen. Cucumbers can be well supported by adding plenty of humus or compost to the planting hole, while carrots and onions feel comfortable in soil with added sand.
However, there are some fertilizers that are recommended for application in the spring, regardless of your planting schedule. These are mainly nitrogen fertilizers that promote vigorous crop growth, but also include potassium and phosphorus fertilizers. Introduce compost or humus 3-4 weeks before planting. Compost can also be used.
Loosen the Soil
After digging, the soil should be loosened to ensure the necessary moisture and air exchange. Do not dig too deep – a layer of 2-4 inches (5-10 cm) is sufficient. It is also important at this stage to remove any weed roots from the previous year so that they do not germinate and become competition for future “residents” of your beds.
Shaping of Seedbeds
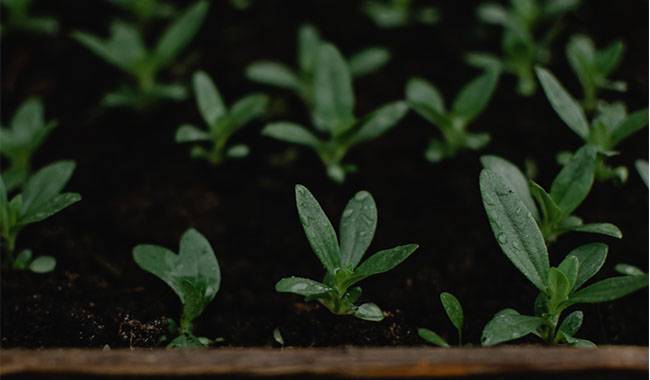
Once the soil is ready, it just needs to be leveled and the beds can be shaped. The shape of the bed can be a classic rectangle or creative, as long as the width of the bed does not exceed 40 inches (1 meter) – so that you do not have problems with weeding, watering and other gardening tasks.
You can limit yourself to the classic seedbed, or you can choose other options, such as a raised seedbed, which is shaped with special borders and ranges in height from 8-35 inches (20-90 cm). Such beds not only have an attractive and neat appearance, but they also increase yields, protect crops from temperature fluctuations and are easy to maintain – you don’t have to bend down to loosen or weed, and the weeding area is greatly reduced.
Lifecycle of the Perfect Bed
In addition to the jobs you simply can’t live without, there are small “fly in the ointment” that can make your job in the field easier and your seedbed more “productive”.
How to Make the Bed “warm”?
If the soil is not yet ready for tillage, but you want to start planting early so you can harvest more crops this season, you can employ a little trick: cover the soil with a black non-woven material such as film or spunbond. The black actively “absorbs” the rays of even the cool spring sun, and the thick material creates a powerful greenhouse effect that warms the soil more quickly.
There are other ways to do this. For example, you can spread peat on top of the snow crumbs on your plot – this also warms the soil so you can plant earlier.
Another “warm bed” secret that some gardeners use is to create a water buffer. You will need to fill 0.4-0.5 gals (1.5-2 liters) dark plastic bottles with water and alternate these “buffers” with young shrubs at planting time. The bottles should be dug to the same depth as the planting material. Of course, this method will have little effect on the soil warming process, but will protect the roots from weather changes because of the good thermal conductivity of the water.
If you want the soil to warm up faster and protect your plants from the vagaries of the weather, a good solution is to create raised beds on your plot. These beds allow the soil to warm up faster and also protect your crops from temperature fluctuations. As a result, seeds can be planted earlier and yields increased by 1.5 to 2 times while labor is greatly reduced.
However, it is important to recognize that warmer soils do not raise air temperatures, so early planting should be preferred to cold-resistant varieties – and planting more “vulnerable” crops is best postponed until warmer days.
Planting on Schedule
Any experienced gardener knows the importance of crop rotation. To avoid soil depletion, you need to alternate planting with different vegetable and garden crops as needed. For example, legumes enrich the soil with nitrogen, which is good for some other plants.
But sometimes, especially for owners of large plots of land, it can be difficult to remember “what grows where and when” in the garden. To avoid confusion, it is advisable to draw a planting plan each year and save it for the future so you know exactly what crops were planted in which parts of the vegetable garden in previous years.
Raised beds are also a great help here: they don’t need to be reshaped every year, they are long-lasting and can withstand several years of use. So, if you make several of these beds for different crops, you will have less difficulty in planning your planting for the next year.
Preparing for the Gardening Season
The value of shoveling beds in preparation for planting is not news to anyone. But not all gardeners know that digging up the road can be beneficial – it removes weed roots, making it easier for you to weed later.
It is then recommended to lay mulch material over the path to prevent weeds from growing and to keep moisture in the ground. Organic materials such as sawdust and inorganic materials such as pebbles, gravel or other types of mulch can be used for this purpose.
If you have organized raised beds, these will also make it easier for you: you won’t have to work hard to control weeds in the aisles because they won’t grow through the walls and threaten your crops. This means it’s enough to mow away unwanted growth from time to time, or even to limit yourself to weeding.
How to Protect Seedbeds from Returning Frost
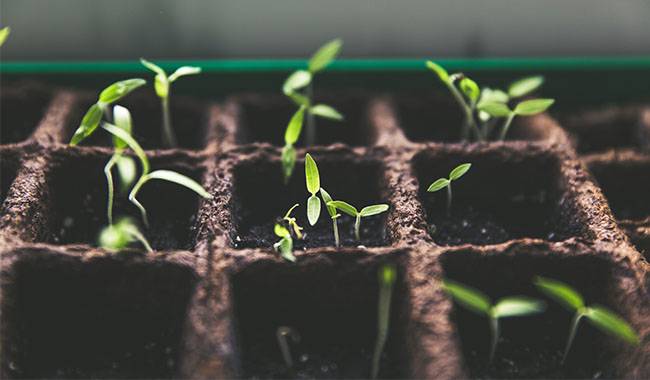
A return frost is a short-term drop in temperature below 32 °F (0°C) that sometimes occurs in late spring or even early June. The danger is that plants have “woken up” by this time, sap has begun to flow actively and in some crops, flowering has begun. During a frost, the cell sap freezes, ruptures the membrane walls of the stem and kills the plant.
There are several basic ways to protect vegetable crops from frost damage, the simplest of which is the use of protective shelters, basically small temporary greenhouses. These can be made of convenient materials, such as plastic buckets or metal frames wrapped in polyethylene film.
Another method is a chimney. A slow-setting fire is built on site to create a smoke screen that protects plants from frost. Water sprinkling can also be used – sprinkle water on plants a few hours before frost. As the temperature drops, the water evaporates, smoothing out the effects of temperature fluctuations.
Tall beds can also help in this situation – with the right fencing material, these beds are built to protect the plants from sudden temperature fluctuations themselves, including from frost. And, if you combine raised beds with other methods of protection, you won’t have to worry about frost return – your beds will almost certainly be protected.
How to Choose the Box Material for Your Raised Beds
Boxes and enclosures for raised beds are made of wood, metal or plastic materials. Wooden fencing is the most budget-friendly solution, and many gardeners don’t even consider other options. But this is futile – unfortunately, such fences for seedbeds are extremely short-lived. A box made of untreated wood won’t last long, and once treated, the material will no longer be environmentally friendly and may pose a threat to your plot.
Metal fencing is more durable, but metal is very sensitive to temperature changes – it tends to overheat and cool quickly, creating temperature fluctuations at the root system and hindering favorable plant development. In addition, 0.8 mm thick and thicker metal panels are quite expensive (thicker panels are not practical to buy because they are not very stable), and the edges of the panels are sharp and can be dangerous if left untreated. This is even more risky if you plan to bring your children to the cottage.
A good solution is to choose a plastic box for the bed. This material will not rot and moss and mold will not grow on it, in addition, this box is simple enough to install and even easier to take care of. The only thing you should be aware of is the certificate that guarantees the environmental safety of the product: unfortunately, not all manufacturers are able to provide these certificates.
If you want reliable, practical and environmentally friendly high bed enclosures, we recommend you to pay attention to ready-made bed boxes of the brand “ThumbGarden”. They are made of eco-friendly polymer material, so they do not cause any damage to the plot, crops, pets. Such boxes are sturdy and durable – they will serve you for at least 10 years, they will not burn and are not afraid of rotting and settling.
Even beginners can assemble these beds – detailed, easy-to-follow instructions will save you the hassle of installation. It’s also easy to disassemble and reassemble in a different location if you decide to change the layout of your plot.
The ThumbGarden Raised Seedbed is suitable for installation outdoors or in a greenhouse. The basic fencing kit allows you to form a seedbed 8 inches (20 cm) high and up to 40 inches (1 m) wide, while the extension kit allows you to extend the length of the box almost indefinitely. They can be purchased at any time from the ThumbGarden online store.
Preparing seedbeds for the garden season can be a hassle. But if you do it right, you can make your plot’s green inhabitants as comfortable as possible, and your dream crop won’t be long in coming.


