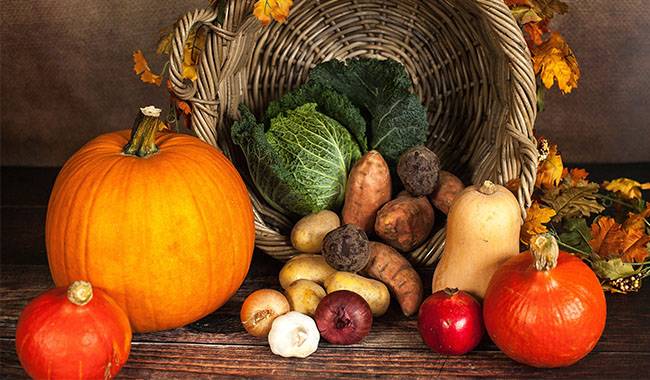
In fall, it’s great to see the actual results of your work, appreciate the harvest, and look forward to the upcoming winter feast. However, growing vegetables is one thing, but harvesting them and storing them at the right time is another. Each crop has its own maturity conditions, its own harvesting vegetables and storage preparation requirements, and its own storability conditions. Knowing them and using them skillfully – means really getting results.
POTATOES
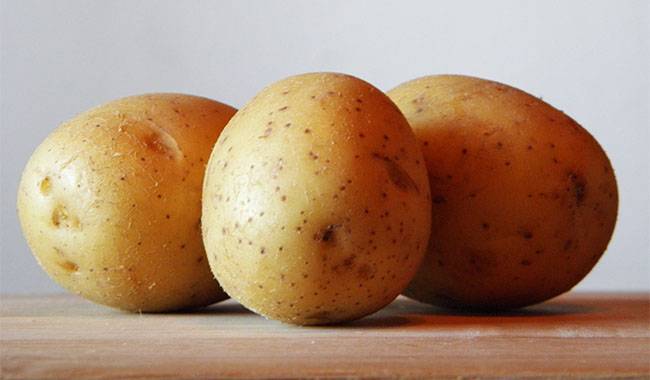
One of the main crops grown in our gardens is potatoes. And there is no substitute for them at the dinner table. That’s why it’s important to store potatoes properly so that they last until spring.
When and how to harvest potatoes
Potatoes should be unset as soon as their stalks dry. If you delay harvesting, the tubers will begin to lose weight.
Both a spade and a pitchfork can be used to pull potatoes out of the ground. The latter method is more practical in areas where the soil is loose.
Many people also sort potatoes as soon as they are dug up, mainly into seed and “edible” potatoes. However, subsequent sorting after the vegetables have been dried is also important before storage, as not only seed potatoes but also damaged or irregularly shaped potatoes must be removed.
In addition, size influences storability: large tubers can be stored until mid-winter (after which their flavor deteriorates significantly), medium-sized tubers can be stored until spring, and very small tubers are better suited for immediate consumption.
Preparing potatoes for storage
Preparation for storing potatoes begins during the so-called “healing period” or post-harvest ripening. This is preferably about 2 to 5 days but can last several weeks (depending on weather conditions). During this period, the tuber wounds heal, the skin thickens, carbohydrates are converted to starch, and stored vitamin C.
At this time, the “edible” potatoes are kept in a cool, ventilated place, protected from dew and rain, but instead, the seed material is left in the sun for a few days to turn green – this increases their storability and makes them unsuitable for rodents.
Then, ideally, there should be a cooling period. This involves gradually lowering the temperature of the potatoes to between 35-39 °F (2-4 °C). However, it is difficult to carry out such a procedure at home, and you will have to rely on spontaneous temperature reductions associated with fall weather changes.
Storage potatoes
The main storage period for potatoes is during their physiological dormancy period, which lasts until about March. During this time, tubers should be kept in the dark and cold at 35-39 °F (2-4°C) with 85-90% air humidity. Lower temperatures will cause tubers to deteriorate, and higher temperatures will cause them to germinate.
In addition, negative temperatures will cause the starch contained in the fruit to be converted into sugar, which has a negative impact on the taste. However, potatoes were not significantly affected by the rare short-term fluctuations in temperature toward 32 °F (0°C) or below.
From about the end of February (early varieties) to the beginning of March, potatoes begin to wake up. New shoots appear on the tubers. These should not be left behind, as they draw nutrients from the potatoes and thus affect not only the appearance but also the taste of the vegetable. Therefore, the tubers should be collected and cleaned of everything that has sprouted on them. But this process can be delayed to some extent by lowering the storage temperature to between 34-35 °F (1.5-2°C), let’s say by ventilating the potatoes in the morning.
In most cases, potatoes are stored in bulk in bundles no higher than 60 inches (1.5 m), but it is equally practical to sort them into crates. Potatoes should not be stored in plastic bags.
More Related Information About Planting & Growing Potatoes
CABBAGE
Cabbage is no less popular in Asian cuisine. Some are salted, others pickled, but a particularly delightful option for the winter table is fresh cabbage salad. To preserve Cabbage until spring, there are also a few rules.
First, it must be a medium to late maturing variety. Second, the Cabbage must be picked without damage and must be firm and full. And third, Cabbage for storage must not be harvested earlier than the daytime temperature of 35-46 °F (2-8°C).
When and how to harvest Cabbage
Harvest Cabbage on a dry, sunny day by trimming the heads with a sharp knife. When harvesting, you can immediately discard those not suitable for storage and remove unwanted leaves from the good stuff, leaving 3-4 top leaves on the head. The length of the cores will vary 1-3 inches (2.5-8 cm)), depending on how they are stored.
Preparing Cabbage for Storage
If cabbage cannot be harvested during periods of full sun and it is raining, cabbage should always be dried before being stored.
If you choose, it is a good idea to sort them by size: keep the large heads close together (they store less) and the small heads in the main storage.
Blistered, rotten, and soft cabbage is best disposed of immediately.
How to store Cabbage
Cabbage can be stored in different places: in the cellar, in the basement, in the pantry, on the balcony. The storage temperature should be between 30 and 33 °F (1 to -1°C) with a relative humidity of about 95%. The best way to store cabbage heads is to store them so that they do not touch each other.
The easiest way is to stack the heads in crates or on shelves with the core facing up. Less popular is to hang their cores on hooks or twine, bury them in dry sand – in both cases at least 3 inches (8 cm) long – or wrap them in paper or plastic wrap.
When placing the forks in the box, remember that the container should be vented, and the heads face inward. When stacked on a shelf, several layers can be formed by staggering the forks. When packing with paper, it is important not to use newspaper as its dye is quite harmful. If sand is used, the sprouts can be buried completely.
More Related Information About Planting & Growing Cabbage
BEET
The next most popular vegetables are probably beets and carrots. Without these vegetables, it would be impossible to make borscht or prepare salads.
When and How to Harvest Beet Roots
The timing of harvesting beets is indicated by the drying of their lower leaves, the diameter of the beetroots matching their variety size, and the formation of characteristic knots on individual beetroots. Depending on the earliness of the variety, these signs may be observed at different times. Still, in general, beets are harvested from September to the end of October (depending on the climatic zone).
It is best to pick the roots by hand, but if the workload is high enough, a pitchfork can also be used.
Preparing beetroots for storage
The dug plugs should be gently stripped from the ground (best done with cloth-gloved hands), the traction removed with a sharp knife (at the height of 2-3 mm from the head), and placed in the cellar after a little drying.
To prolong the sturdiness of root crops, it is better to harvest them in dry, sunny weather. If this is not possible and the crop is harvested in the rainy season, beet should be dried before being put into storage. If an early frost does not arrive and the beetroot is not harvested, it can also be harvested after the frost, but it will be sweet and watery and will not last long.
Storing stored beets
So, how do you store beets? There are several methods. The first method is to pour moist sand over the beets, while the second method is to place them in a single layer on a rack. The best temperature is 35-37 °F (2-3°C) and 85% humidity.
You can put the beets in your cellar, in the cellar, on an enclosed insulated balcony, or in a log cabin. Sometimes they can be stacked on top of potatoes to provide additional storage space. In this case, it also functions as an absorbent – it absorbs excess moisture.
When storing beets, it is worth remembering that storable beets are those that do not exceed 4 inches (10 cm) in diameter, are round or elongated in shape, and, of course, late-maturing varieties.
More Related Information About Planting & Growing Beet
CARROTS
When and how to harvest carrots
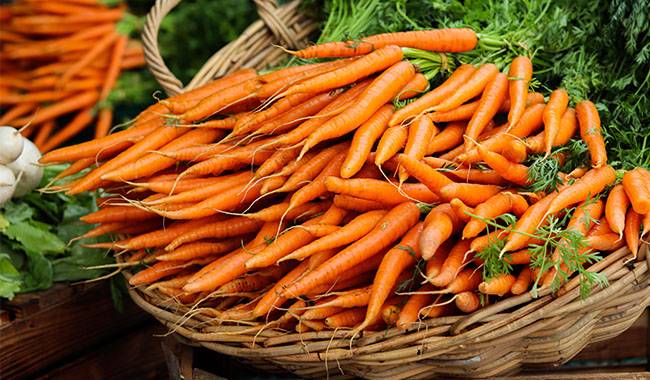
As with beets, carrots for winter storage are harvested in late fall, just before frost, and in some varieties, such as Chantenay, even after the first small frost. However, if you dig them up early, the storage period of vitamin vegetables is shortened because the crop is not yet mature and quickly succumbs to rot.
The easiest way to remove the rhizome is to use a fork or spatula, but be careful to dig it out to not damage it.
Preparing carrots for storage
After digging up the carrots, clean off any clumps of soil attached (but not by tapping, but by using gloved hands), using scissors, a knife, or simply twisting the traction is all that is needed to dry them slightly.
Storing carrots
The vegetables can be stored in boxes or loose in low bunches, but the best method is to spread in wet sand. In the latter case, the root crop is placed in a container (with one carrot as a layer) and sandwiched in previously prepared moist sand (to determine the optimum moisture level of the sand, it is held in hand and squeezed if the block retains its shape, but the moisture is not released – this is what you need! , the thickness of 0.4-0.8 inches (1-2 cm).
Among modern recommendations, you can find a way to store carrots in plastic bags. In this variant, the roots are poured into a 100-150 micron thick polyethylene bag, 44-88 Lb (20-30 kg) each, without knots at the mouth. To prevent the accumulation of condensation, holes are made in the bottom of such “containers.”
To ensure that carrots can be stored for as long as possible, the time between harvesting them and putting them in storage should not exceed one day. After the carrots are put into bags or boxes, they must be cooled (outside overnight and brought into the cellar in the morning). They are stored at a temperature of 37 °F (3°C) – permissible figures: 32-50 °F (0-10°C) and relative humidity of 95%.
Unlike beetroot, in carrots, the small roots should be consumed first, followed by the medium roots and then the large roots. If carrots are washed with water before storage, their storability will be greatly reduced. For a more compact arrangement of the roots in the container, carrots should be stacked alternately, first with the mouths facing each other, then with the tops.
More Related Information About Planting & Growing Carrots
ONIONS AND GARLIC
When and How to Harvest Onions
Harvest onions once most of the leaves have fallen off, the outer scales have taken on their characteristic color, and the bulbs look fully formed. Gently take the onions out of the ground: do not pull to damage the base, and do not knock them against each other.
Preparing for storage
After harvesting, the heads should be dried in a well-ventilated area and covered with a dew-proof lid overnight. Bulbs will become dense when they have a characteristic “rattle” (usually after a week).
When the bulbs have a characteristic “rattle” (usually after a week), they are firm, their necks are closed, the outer scales are dry, and the onions are cleaned of any soil and root residue. The pseudostems are cut off, leaving a 2 inch (5 cm) long neck.
The harvested material was then sorted, and those with sunken necks and soft bottoms (signs of decay) and those that were obviously damaged were discarded and placed in storage.
Storing onions
Store onions in small boxes, mesh pockets, or stockings in a cool, dry place. The best conditions for storing bulbs are a temperature of 33-37 °F (1-3°C) and a humidity of 70-80%.
As a rule, onions can be stored in braids. Instead of cutting the leaves off, they are braided and wrapped in twine. Although labor-intensive, this method is considered one of the best because it ensures good ventilation and minimal contact between the bulbs.
When and how to harvest garlic
It is best to harvest garlic selectively when the individual bulbs are mature. Guidelines here can be dry leaves, dry roots (young roots are white, dead roots are gray), and easy removal from the ground (mature bulbs can be pulled freely through pseudostems).
Preparing for storage
Next, everything is the same as onions! The heads should be dried, but not in the sun, but in a cool, airy place, carefully cleaned of clumped soil, the leaves cut off, leaving 1.5-2 inch (4-5 cm) pseudostems, and the roots removed.
Storing garlic
Store spring garlic at 60-68 °F (16-20°C) air temperature and 50-80% relative humidity (for winter storage). You can twist them into braids, bundle them up, wrap them in plastic netting or cloth bags, wrap them in salt, “pack” them in glass jars, or put them in wicker baskets.
More Related Information About Planting & Growing Onions and Garlic
PUMPKINS
When and how to harvest pumpkins
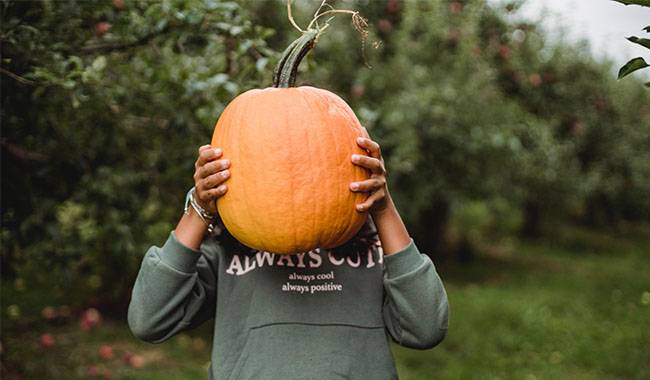
Harvesting and storing pumpkins also have their own peculiarities. This crop is harvested at once, and the fruit is collected along with the stalks and placed on a rack or tray. However, harvesting times vary by variety and may vary over several months.
For example, early varieties are harvested in August, three and a half months after planting in the open field; medium varieties are harvested in September, and late varieties are harvested before the arrival of cold weather. You can tell if a pumpkin is ripe by its appearance. Dark-colored fruits, yellowing or wilting leaves, thickened stalks, and hard skin indicate that the time has come.
Preparing pumpkins for storage
If weather conditions do not allow for the required harvest of this wonderful vegetable – you can solve this problem without having to wait for nature’s bounty. Pumpkins harvested in the rain need to be dried in a dry, ventilated room and placed on sawdust, and the unripe pumpkins can be finished in storage.
Storing pumpkins
Storage of pumpkins should take into account the quality of the variety. Late ripening varieties have the best storability, medium ripening varieties have the worst storability, and early ripening varieties need to be processed quickly. Also, shelf life depends on the time of harvest – fruit harvested on a sunny day will last longer, but pumpkins harvested on a rainy day will last less. Damaged pumpkins and picked pumpkins without tails will have to be eaten first.
Whether you store pumpkins in the attic, on the balcony, or in the cellar, the best storage conditions are temperatures between 37-50 °F (3-10°C) and relative humidity of 70 to 75%. Fruits stored on straw, sawdust, or hay, rather than on the floor, not touching each other and kept in a “tail up” position, will store longer.
More Related Information About Planting & Growing Pumpkins
More Related Information About Harvesting Vegetables


