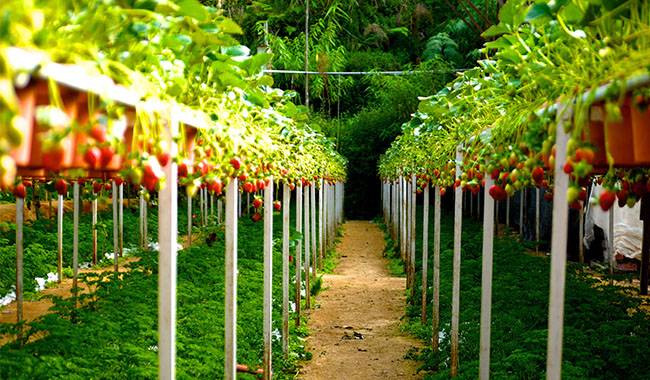
Naturally, there is not a gardener who does not have at least a few strawberry bushes on their garden plot. There are some people who plant entire “100,000 square foot” fields of strawberries and get good yields, but they may not know what to do with the plants after the entire harvest (i.e. every single strawberry berry) has been removed. As it turns out, nothing should be left to chance during this period, and strawberries should not be left to fend for themselves.
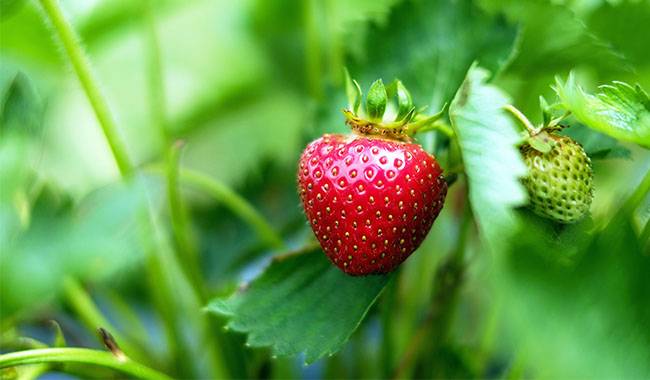
The end of the fruit set is the most important period when the active laying of next year’s harvest begins, and if the plants have everything heat, water, nutrients, and caring for a strawberry plant. Next year’s harvest could be even higher than the current year.
The strawberry, or garden strawberry (Fragaria or ananassa) and its berries are commonly referred to as strawberries, which is incorrect in terms of botanical nomenclature but is commonly accepted in everyday life. When we use the term “strawberry” in this material, we are referring to the garden strawberry.
RULES FOR CARING FOR STRAWBERRIES AFTER HARVEST
So let us show you what you need to do immediately after eating all the strawberries grown for the harvest, and then each step will be broken down in as much detail as possible so as not to leave any dark (unclear) spots.
Loosen the soil
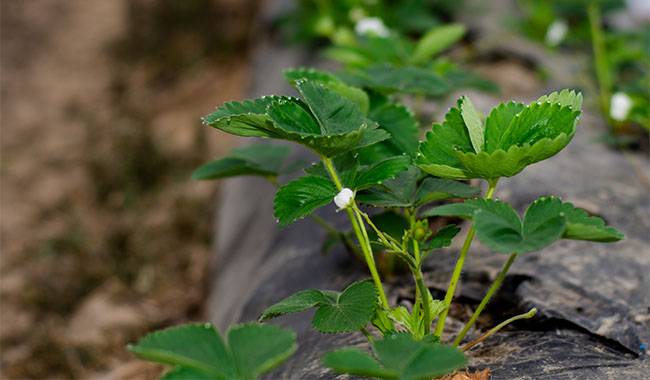
The first stage is of course loosening the soil. Be careful when loosening the soil, both between rows and under bushes, trying not to damage the fragile root system of the strawberry and not to pull its roots to the surface. Loosening the soil allows to ventilate the soil, to get rid of soil caking, to enhance the exchange of air and water, respectively, so that the plant starts to get more food and water from the same unit area, to grow normally, to develop and to lay enough to ensure a high yield of strawberry generating shoots.
When hoeing around strawberry bushes, try to hoe with fresh and nutritious soil, especially if you find one or more roots exposed.
Weeding
The second important activity that can be done literally is weeding the flower beds, i.e. removing all weeds, especially – couch grass. Sofa grass is very hardy and consumes a lot of water and nutrients from the soil. It is best not to remove it from the ground, but to pull it out by hand; its further growth may then be strongly slowed.
Other weeds should not be neglected, as they are also competitors and must therefore be removed. Weeds are best removed after watering or heavy rains so that their roots can be more easily pulled from the soil.
Watering
The beds should be kept moist, just try to water and moisturize under the bushes in the evening. It is better not to pour water on the leaves in the middle of the day – sunburn can occur. Of course, water the strawberries according to the weather outside, for example, if it is raining and the soil is already saturated with water, then no additional watering is needed, then it is more appropriate to loosen the soil and perhaps break off a few lower leaves from those that are literally pinned to the ground to increase the evaporation of water and not allow the formation of rot.
If the weather is dry, without even a hint of rain, then watering is essential. When watering, it is best to use fresh or rainwater. The soil should be soaked to a depth of at least 2-2.4inch (5-6cm) to saturate the roots with water. Overwatering is also not allowed, but too much watering can have a damaging effect on the plant.
If you live in a summer house and only go there on weekends, you can design a simple drip irrigation system. To do this, you need to take a 53 Gal (200 liters) bucket, place it on a small hill where the rainwater from the roof runs down, punch several or three holes (depending on the number of rows in the bed) in the bottom of the bucket for special tubes – drip heads – and place strawberries along the bed. The water arrives through the drip tube and will moisten the soil in your absence, which is necessary.
Mulch
If you don’t want the “hassle” of installing a drip tray, you can simply cover the soil with a layer of mulch of about 1 inch after each watering. As a mulch for strawberries, you can use a straw, sawdust, humus, or just dry soil. For a few days, such a mulch is quite enough to retain moisture in the soil.
If there is an old layer of mulch, such as straw, after harvesting strawberries from the strawberry garden, it is necessary for you to remove such mulch as carefully as possible and burn it in order to keep the berries clean and save them from fruit rot, and there is no need to use it again because harmful microorganisms will accumulate in it.
Remove old leaves
Next step: As you know, the leaf plates of garden strawberries, after performing their due two years, begin to deteriorate, so it is safe to remove them. This can be done in various ways: combing with a rake, weeding, or even cutting by hand. There are no clear guidelines for this type of action, but it is important to remember that when removing old, discolored strawberry leaves, it is important not to damage the growing points. With this in mind, two methods are considered the gentlest – raking the old leaves with a rake (they can be easily removed) and removing them by hand.
Fertilize
This step can be combined: removal of old leaves can be combined with carrying out plant fertilization. After the propagation, the strawberry plant is quite depleted and there is a long winter and a short period ahead, during which there must be time to produce buds again in order to have a good crop the following year.
If there are not enough nutrients in the soil, there will be a negative impact on the immunity: it will be weakened and the plant will suffer from frost damage during the winter and growth phase, so the bush will produce a minimum number of flower buds.

HOW TO FERTILIZE STRAWBERRIES AFTER HARVEST?
It is not enough to apply a single element to maintain an optimal balance of nutrients in the soil. In addition, we strongly recommend introducing all the elements dissolved in water so that they reach the roots as soon as possible and the plants accordingly.
In the meantime, it is best to use potassium sulfate (not chloride), ammonium nitrate, and calcium superphosphate dissolved in water. Potassium sulfate pre-diluted in a bucket of water per 11 square feet of soil, you need 15-18 grams (0.26 Gal per 11 square feet), ammonium nitrate – the same amount for the same area, but calcium superphosphate needs 45-50 grams, also dissolved in a bucket of water, the same amount per 11 square feet of bed with garden strawberries.
In addition to the introduction of liquid fertilizer, after about a week you can sprinkle 50-70 grams of wood ash under each bush, in pre loosened and watered soil, although the potassium content of wood ash is not much, only 5-6%, there are many other minerals (trace elements).
In the absence of wood ash, you can sprinkle a handful of compost in the bushes of your garden strawberries, which will not do any harm. I once had a suggestion to slip a few handfuls of wilted manure under the strawberry garden this season and tried it on a few plants, and I let them dry out, so this suggestion – at your own risk.
As for wood ash, not only can you pour it under each bush, but you can also spread it between the rows to pre-root weeds, using two pounds per 11 square feet. Some people write that this helps keep bears away, which I doubt, but it is a fact that ash enriches the soil with potassium and trace elements.
It probably goes without saying that in doing all these operations you leave plantation plant residues and old leaves, which of course do not do, and absolutely remove and burn all waste from the area: it can accumulate diseases, pests, and various pathogens.
PROTECTION OF STRAWBERRIES FROM DISEASES AND PESTS
The next important stage, which for some reason is neglected by many people, is the prevention and eradication treatment of diseases and pests planted in the strawberry garden after the end of fruiting. Once all the berries have been removed, inspect the plants carefully for any signs of pests or various diseases on them.
Contrary to popular opinion, there are quite a lot of diseases on garden strawberries. Take powdery mildew as an example. The first signs of its manifestation can be seen as gray patches on the strawberry leaf discs, and later these leaves begin to rot, well, and of course fall off, pre-curling.
At the first signs of the disease, when the entire strawberry crop has been collected, the plants should be treated generously – top and bottom – with a colloidal sulfur solution, which involves diluting 100 g of colloidal sulfur in a bucket of water at room temperature, mixing well, filling the spray and treating the plants so that the entire surface is wet.
Garden strawberries can also be damaged by gray rot. Usually, you can see visible gray spots on the berries, and in some places, such berries are still hanging and collectors simply ignore them. This is not the way to do this. First of all, you must collect all diseased strawberries and burn them: they are the source of infection; then – treat all plants, especially those where diseased berries are found, carefully, using a solution of copper chlorine oxide, 45 g per bucket of water. The entire above-ground part of the diseased plant should be moistened with the solution.
Another rot that few people distinguish from gray rot is black rot, which can be distinguished by the spots on the berries, which are completely black, although the action itself, as well as the treatment, is absolutely identical to that of gray rot.
Let’s go further: spot disease, which usually affects the leaf plates of garden strawberries with brownish-red spots on them. It should not be delayed and the disease can quickly spread to still healthy plants and take over most plantations. On the surface, this may seem like a small thing to say about spots, but in fact, these spots cause dysfunction of the photosynthetic apparatus and inhibit the general development of the plant in this context.
Of course, this will not significantly affect the next year’s strawberry crop, but the spots must still be treated. In this case, it effectively helps to treat copper chloride solution, which must be diluted at a concentration of 50 g per bucket of water, with which to treat diseased plants in the strawberry garden.
By the way, beginners often confuse aging leaves and having red shades with affected spots. Keep in mind that old leaves should be simply removed and no further treatment of them is required.
Smooth transfer from disease to pests, – at the time when the strawberry in the garden gets all the harvest, she also needs to be protected from pests. During this period, strawberries are attacked by strawberry weevils, strawberry mites, and spider mites.
The strawberry weevil usually eats leaf flakes, and it may also affect flower buds during the early stages of plant development. To get rid of the strawberry weevil, you must treat the plants with an approved insecticide (such as carbosulfuron) using 70-80 grams of preparation per bucket of water. When treating, the top and bottom of the strawberry leaves should be thoroughly moistened and the soil should be treated.
An even smaller insect is the strawberry mite. You can learn about its effect on strawberry plantations by slightly deformed leaves that have changed color to yellow. The control measures here are the same as for the weevil.
Spotting spider mites on strawberry plants is easy: if you turn the leaves over, you will see spider webs on the bottom, which are traces of spider mites.
After noticing spider mites on strawberries, which suck the sap from the leaf plates and greatly inhibit the development of the plant and reduce its immunity, you must treat the plant with any approved acaricide, and if the strawberry plant is severely affected, it is best to move it to the back of the field and burn it.

REPLACING THE OLD STRAWBERRY BUSHES
So, we have said very much about what needs to be done after the strawberries bear fruit, but not everything, and there are some secrets that we definitely want to tell you now.
Did you know, for example, that a mature and fruitful strawberry garden only lasts 4 years, but on soil moist enough and rich in nutrients it can last 5 years, after which, alas, it fades away without a trace and the plantation is better renewed? Now you know!
Therefore, once you have harvested your 5th fully matured crop, you need to replace it with a new strawberry garden. around the end of July, all old and wilted strawberry leaves should be pruned and removed from the shoots and tender shoots, leaving only the very base of the bush, at a height of about 0.8-1.2inch (2-3cm).
Everything that is cut off must be removed from the site and burned. This process is brutal, however, it will allow the plant to form new leaf clusters and produce flower buds this fall, which is a guarantee of next year’s harvest.
WHAT DO I DO WITH THE ROOTS OF STRAWBERRIES?
When you remove the shoots of strawberries, they are so numerous that destroying them can be really painful. With this in mind, if you have enough free space, the remaining offspring, from which you choose the strongest, best developed, and healthiest ones should be transplanted to the newly planted flower bed. All other root whiskers should be removed, otherwise, they will simply draw in water and additional substances that are detrimental to the formation of the reproductive field of the plant.
The removal of strawberry whiskers should not be done haphazardly, for which it is usual to take a garden knife and remove them as close to the soil surface as possible. In no case should the branch be pulled out, doing so almost always removes part of the root, which may wither and thus cause the death of the whole plant.
PREPARING STRAWBERRIES FOR WINTER
Preparation of strawberries for wintering should not be neglected, it is an important part of ensuring a good harvest in the coming year. If there is enough water in the soil, then there is no need to water the plants in late autumn, if not, then you can water every 11 square feet of soil with a few buckets of water around the end of October.
Again, check the plants carefully, especially after watering, and if you find roots sticking out somewhere, be sure to bury them in moist and nutritious soil. With the arrival of the first frost, to postpone the snow on the strawberry ground bed, it is necessary to cover it with spruce leaves, which are not so reliable for protection from the cold, but he postpones the snow on the site just right.
But wintering straw as a mulching material for strawberries is not recommended by many people, where it usually breeds mice, so if you have a lot of straw and it has nowhere to go, and also spread poisonous bait to protect the crop from mice.
That’s all we want to tell you. If you have any questions or tips, please post them in the comments and we’ll be happy to answer questions and take tips.
More related information about Growing strawberry plant