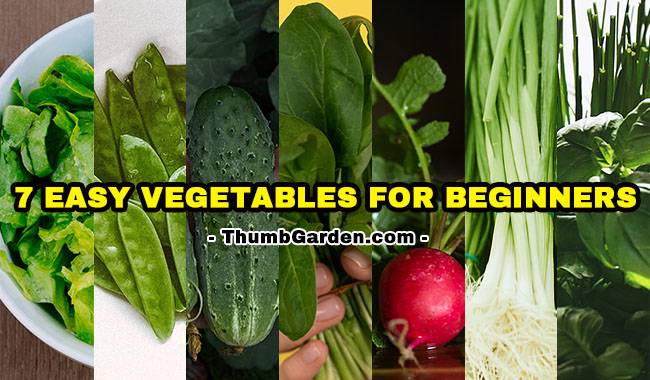
Tired of store-bought vegetables that are full of chemicals, sluggish, and tasteless? Create your own garden on your plot or balcony and grow healthy vegetables that are easy to maintain and grow fairly quickly. Here are seven plants that require little care and are easily adapted to almost any type of habitat. In this ThumbGarden article, we’ll discuss seven vegetables for beginners that are easy to grow in the garden or on the balcony.
Lettuce
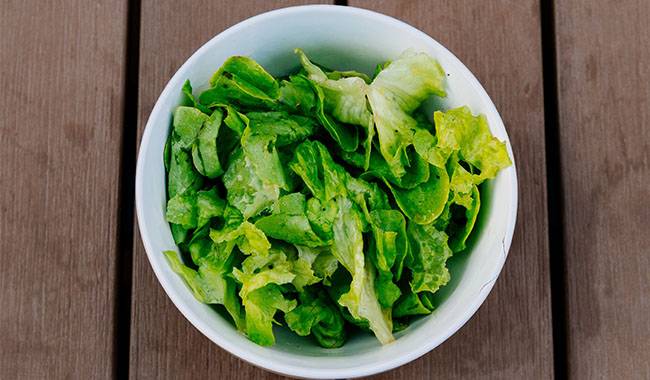
There is a huge variety of salad plants, but the best choice for small areas is leaf lettuce, which is very easy to keep and requires little care. Leafy lettuce can even be grown indoors.
A quick guide to growing lettuce
- Plant lettuce in early spring and mild fall weather. This nutrient-rich leafy green is an excellent choice for in-ground gardening, raised garden beds, and containers.
- Space lettuce plants 6 to 18 inches apart (depending on variety) in an area with full sun, rich, well-drained soil, and a pH between 6.0 and 7.0.
- Improve native soil by mixing in a few inches of aged compost or other rich organic matter.
- Well-watered lettuce grows young leaves, so water whenever the top inch of soil becomes dry to maintain consistent moisture levels.
- Keep weeds out and water longer by using a thick layer of mulch made from finely ground leaves or bark.
- Promote excellent leaf production by regularly feeding water-soluble plant foods.
- Once they are large enough to eat, start harvesting leaf lettuce from the outermost leaves.
Peas
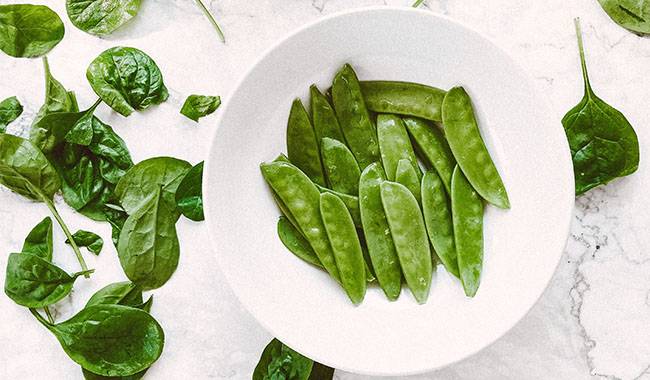
Peas are another easy vegetable to grow. The good thing about peas is that they grow very fast. Soak the seeds in warm water for a few hours or overnight before planting so they can germinate as quickly as possible.
A quick guide to growing peas
Sow seeds 4-6 weeks before the last spring frost date, when the soil is cool or has reached the desired temperature: peas planted in cold (40°F) soil will germinate slowly; peas planted in soil at least 60°F (but not more than 85°F) will catch up.
Snow will not harm emerging pea plants, but a few days in teeny temperatures may. If the first peas don’t make it, be prepared to plant them again. Or, try starting your peas in a cold frame.
The second round of peas can be planted in late summer or early fall, about 6 to 8 weeks before your first fall frost date.
More Related Information About Grow Peas
Cucumbers
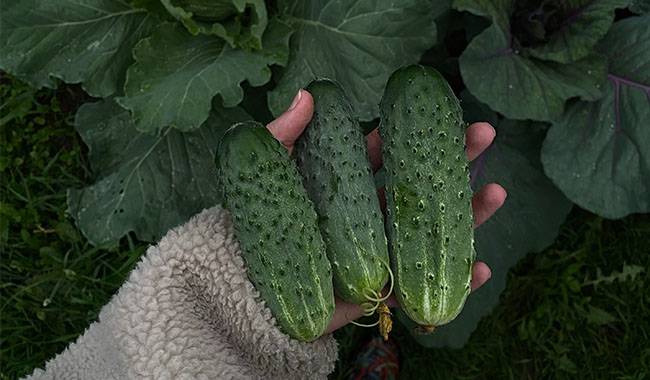
Cucumber is the most popular vegetable for many people. It can be grown without much effort, but it needs warmth and moisture. It can even sprout on your balcony and give a wildlife look at your front door.
A quick guide to growing cucumbers
- Plant cucumbers when the average daily temperature reaches 70 degrees Fahrenheit.
- Space cucumbers 36 to 60 inches apart (12 inches for lattice plants) in an area with full sun and fertile, well-drained soil (pH 6.0 to 6.8).
- Improve native soil by mixing in a few inches of aged compost or other rich organic matter.
- Cucumbers will grow quickly without care. Make sure they receive an inch of water each week.
- Make the most of your food-growing efforts by feeding your plants regularly with water-soluble plant foods.
- When the soil is warm, add a layer of straw mulch to keep the fruit clean and to help keep slugs and beetles away.
- Harvest cucumbers when they are big enough to eat.
More Related Information About Grow Cucumbers
Sorrel
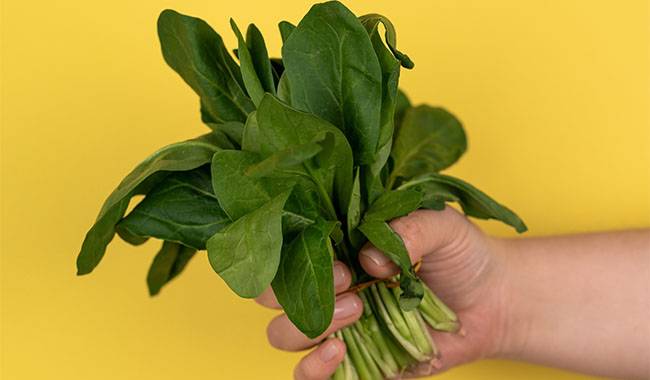
Sorrel is a green and very useful vegetable that is easy to preserve is sorrel. It grows very fast and is easy to grow from seed.
A quick guide to growing Sorrel
To plant Sorrel, sow new seeds 2-3 weeks before the last frost date. Seeds can be sown continuously until late July with a regular supply of fresh foliage.
Sow new seeds in a clean tray filled with fresh general-purpose compost. Water lightly with a fine spray. Keep the trays in a bright location until they germinate.
When the seedlings are large enough to handle, you can separate them. Plant the healthiest seedlings into 2-inch pots and plant Sorrel on top. as the seedlings grow, they will need to be transplanted into larger and larger pots. Eventually, each seedling will be placed in an 8-12 inch pot.
As the Sorrel grows, you can continue to place young Sorrel into pots as part of a container garden or transplant them into the garden.
You can also sow the seeds directly into the ground. Use a fork to turn the soil over before sowing to a half-inch depth. Try spacing the seeds 2-3 inches apart. Space each row 18-24 inches apart.
Radish
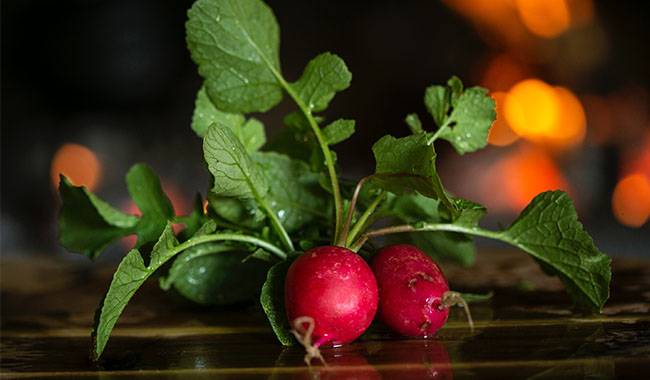
Radishes grow very well from seed and do not require much care. Radish needs a lot of water to grow. If you want to grow it indoors, plant it in a deep vase.
A quick guide to growing radishes
Choose a sunny spot that gets at least six hours of sunlight a day. If radishes are planted in too much shade, or even where neighboring vegetable plants shade them, they will focus all their energy on producing larger leaves. Until the soil (roots do not grow well in compacted soil) and remove any rocks. If the soil is clay, mix in some organic matter to loosen and improve drainage. If you are planting a longer variety (such as ‘White Icicle’), do so until the depth is 8 inches.
Add organic matter before planting, but also avoid using fresh fertilizers or manure with high nitrogen content; overly rich soil will promote dense foliage at the expense of radish roots.
- Radish seeds have a fairly long shelf life. Don’t be afraid to plant radish seeds that are up to 5 years old. Everything may not germinate, but you will have plenty to germinate.
- Sow the seeds directly outdoors about 1/2 inch deep and cover loosely with soil. Space them 1 inch apart in 12-inch rows. Water thoroughly, to a depth of 6 inches.
- Sow another round of seeds every 10 days or so, so that you can harvest radishes continuously in late spring and early summer while the weather is still cool.
More Related Information About Grow Radish
FAromatic Herbs
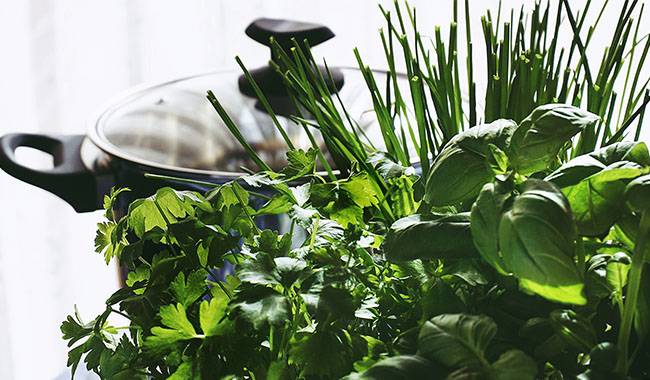
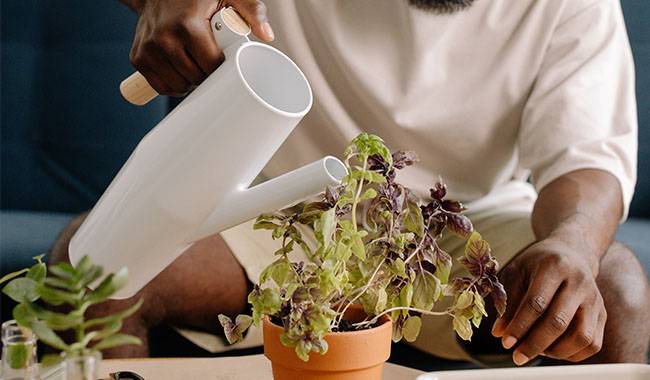
Aromatic herbs such as mint, ginger, thyme, basil, etc. can be cultivated in a plot or on a windowsill. Herbs like these usually only need watering and plenty of light.
Types of herbs
Herbs not only provide delicious fresh flavor for the cook, but they look great too! Take your cooking to a whole new level by planting them in garden beds, borders, pots, and window frames. If you give your herbs the best start, you’ll get plenty of produce and few pests or problems.
There are two main types of herbs: annuals, such as basil, which grow and die in the same year; and perennials, such as rosemary, which is a woody shrub that can live for many years.
- Annual herbs have a specific growing season. Buy them as seedlings in the spring or fall and harvest them a little at a time until they start to flower. When they bloom, they are about to sow and die, so harvest the whole plant and save it (see below).
- Perennial herbs become a garden staple and are always on hand when you need twigs or leaves to flavor a soup, stock, or casserole. They require annual pruning and spring and fall applications of controlled-release fertilizer.
More Related Information About Grow Herbs
Scallion
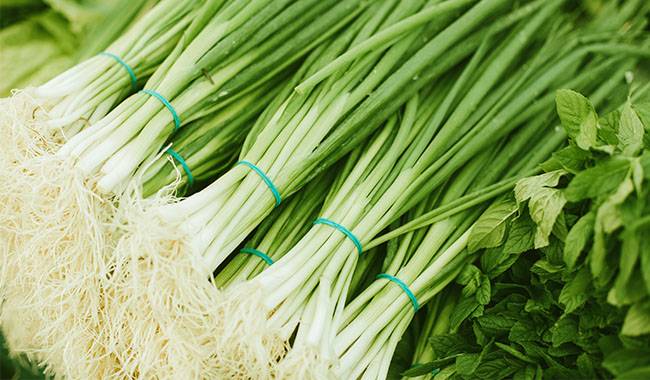
Put a few discarded Scallion bulbs in a pot or scatter a few seeds and you’ll always have a fresh bunch of Scallion on the table.
Sow Scallion seeds indoors
- For best results, sow seeds indoors 8-10 weeks before the last heavy frost.
- Sow thinly and cover with ¼ inch of seed starting formula. Keep moist and maintain a temperature of about 60-65 degrees Fahrenheit.
- Seedlings emerge in 7-14 days.
- Once seedlings emerge, provide ample light on a sunny windowsill or plant 3-4 in. seedlings under a fluorescent plant light that is turned on 16 hours per day and 8 hours per night. As the plants grow, raise the light. Incandescent bulbs don’t work because they get too hot. Most plants need a period of darkness to grow; do not leave the light on for 24 hours.
Seedlings do not need much fertilizer and are fed at 3-4 weeks of age with a ferment solution (half the concentration of complete houseplant food) according to the manufacturer’s instructions. - Seedlings in the garden are about as thick as a pencil after the risk of severe frost. Seedlings need to be “hardened” before planting in the garden. Move the seedlings outside for a week in a sheltered place to acclimatize them to outdoor conditions. Be sure to protect them from the wind and hot sun first. If there is a threat of frost at night, cover the container or bring it indoors and then remove it again in the morning. This hardening process strengthens the cell structure and reduces transplant shock and sunburn.
- Choose a sunny spot where you have not planted Scallion the previous year.
- Apply a balanced fertilizer and work in the soil before planting. scallion prefers a pH of 6.0-7.0.
- Scallion prefers well-drained organic soil. Add organic matter to the soil at least 6-8 inches deep, remove stones, and level smooth.
- Space them 2-3 inches apart in 1-2 foot rows.
Sow Scallion in the garden
- Once the soil is ready for tilling, sow directly in the garden in early spring and then again in the fall.
- Choose a sunny spot where you have not planted foreign Scallion the previous year.
- Apply a balanced fertilizer and work in the soil before planting. scallion prefers a pH of 6.0 – 7.0.
- Scallion prefers well-drained organic soil. Add organic matter to the soil at least 6-8 inches deep, remove stones, and level smooth.
- Sow seeds thinly in rows 1-2 feet apart and cover with 1/4 inch of fine soil. Firm lightly and keep evenly moist.
- Seedlings emerge within 7-14 days.
- Thin seedlings to about 2 inches apart when they are 1-2 inches tall.
Although these vegetables are easy to grow, they do require a little care. Don’t forget to water them and remove weeds. Make sure the air in the unit is not dry, and in the garden, cover your pets if there is frost.


